Choosing the right paint colour for your home can be one of the most difficult things to do, but if you can get it right, it can be one of the most impactful things you can do to change up a space.
But before you get the paintbrushes and roller out, there are a few steps I recommend you take to make sure that the colour you choose is going to be the right paint colour for your home.
Step 1: Create your palette
Colours change depending on what they are surrounded by, so it’s really important that you sample possible paint colours next to other elements in the room.
Therefore, I suggest that your first step is to create a palette of colours and materials for the space – this will help you to see how everything is going to work together.
If your room is already built, then make sure you’re testing colours in the space and seeing how they are working with things like existing furniture and flooring. If it’s a brand new space that you’re creating, you can achieve the same thing by collecting all your samples together in one place.
Step 2 : Paint chips
Once you know the base palette you’re working with, head down to your local hardware or paint shop and pick up a few colour cards.
Paint companies often have palette combinations already done and ready to go, so it can make it much easier to find colours that work well together and slight variations that you can play around with.


Step 3 : A4 Sample Swatches
Once you’ve narrowed down your selection to a handful top contenders, you can order a few A4 “brush-out” sample swatches – unlike a paint card from the shops that is printed digitally, these larger samples are made from the actual paint so they’re closer to the final colour you’ll get.
Most of the bigger paint companies offer this service for free or for just a small service charge and it’s definitely worth the extra step because it’s quicker and easier to narrow down your selection with these compared to sampling a big range of colours with sample pots.
I always put a bit of blutack on the back and stick them up around the room to see how they look in different light and at different times of the day. You will notice that the colours change depending on where in the room you’ve put them and what they are reflecting off.
Step 4 : Sample pots
Alright… final step!
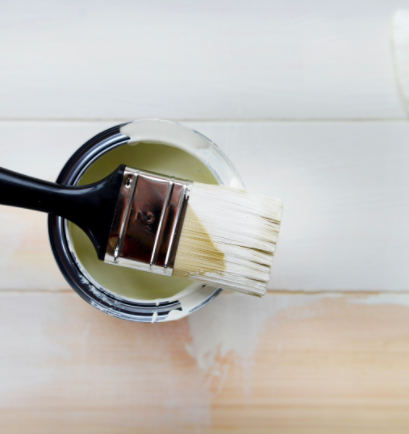
Once you’ve got your possible options narrowed down to your top 3, it’s time to pick up some sample pots of paint.
I’ve heard some people recommending that you paint patches on white cardboard or foam board so that you can move them around the room and see how they look. I think that is a great way to do it, but make sure that whatever material you’re using is absorbing the colour in a similar way to the surface in your home.
I know most painters hate the idea of you painting patches of test paint directly on the walls because there can be a bit of work in covering those patches up so the colours don’t show through (especially if you’re playing with darker colours). But if you can deal with that, then all you need to worry about is putting your blinkers on so you don’t take in the colours of unpainted walls around the sample patches – this can be really hard if you’re working on a construction site and you’ve got raw plaster and timber everywhere.
Whichever method you take, make sure you paint the same number of coats as what you will be doing on your wall – if you plan to do two coats but you only sample one, your sample is going to be different to the actual result.
This final step can be a bit messy but definitely worth it if you’re unsure about which way to go, but a little confession… I often skip the final step and cross my fingers because the accuracy of the brush-outs is usually pretty good for me unless I’m doing something that I feel really unsure of.
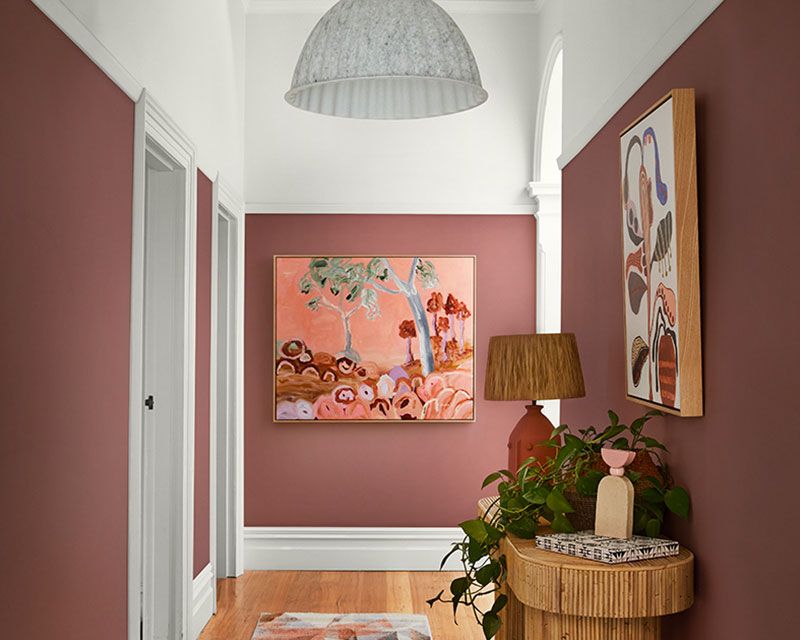
Artwork by Doulene Walker available via @greenhouseinteriors

Design: @calamityjaneinteriors and @recipesfordesign / Photo: @lisacohenphoto
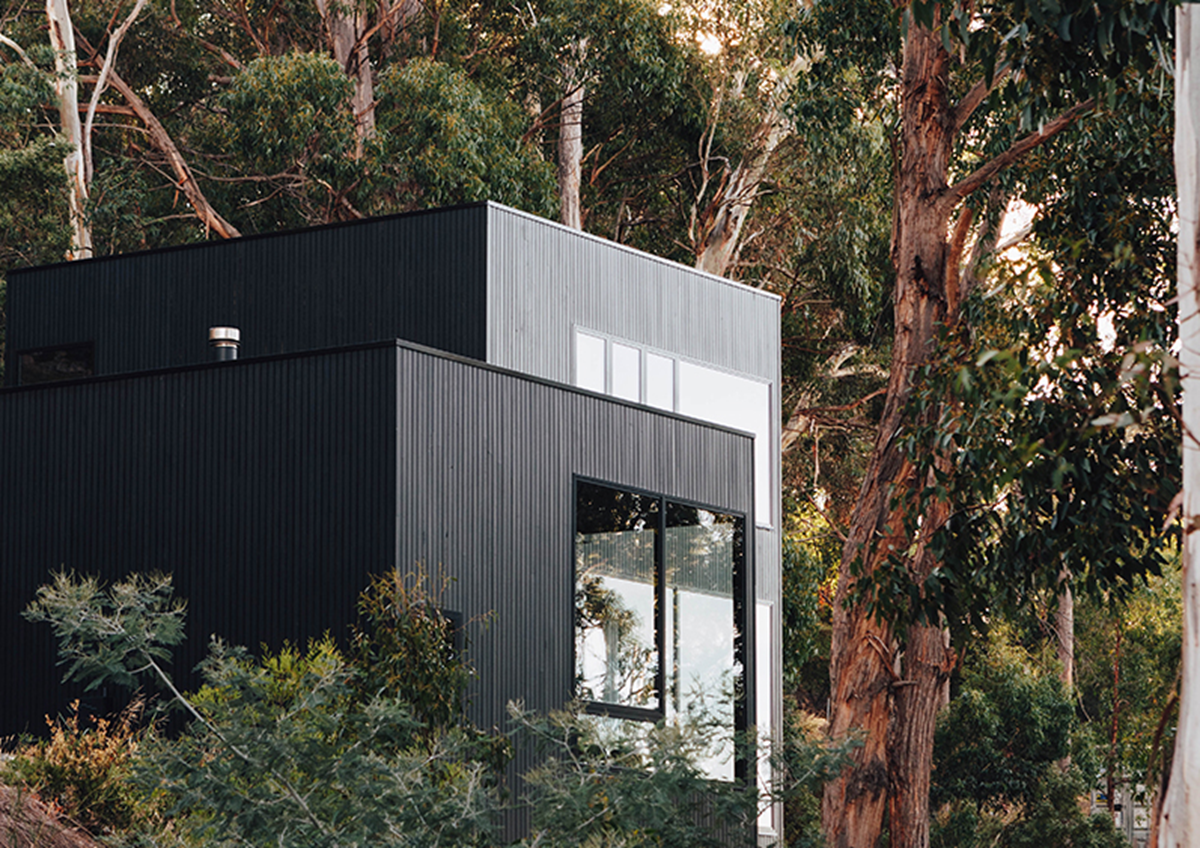
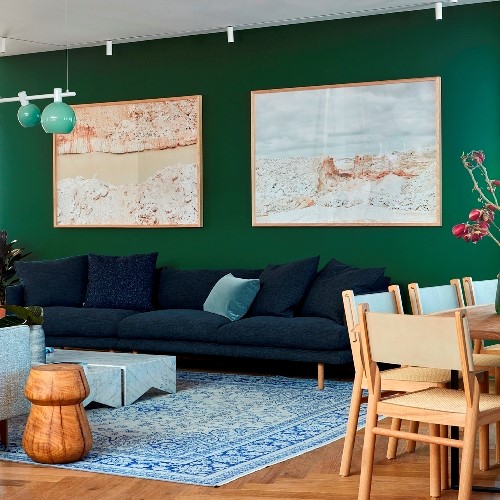
Design: IF Architecture @ifarchitecture / Photo: via Porters Paints @porterspaints
Project: Jardan’s Flagship Sydney Showroom @jardanfurniture
If you’re wanting to know more about selecting the right paint, then this previous blog post might be worth a read too…
What are VOC’s and why are they important?
With us all spending more time than usual at home, I found it concerning when I recently learned that the concentration of VOC’s (as a measure of air quality) inside our homes is consistently higher than outside (often up to 10 times higher).
Should I be using Oil-based or Water-based paint?
I’ve tried and tested lots of different paints over the years and I know how confusing it can be to find yourself in the middle of the paint aisle at Bunnings trying to figure it all out.
I’m working on a few of my own projects at the moment and sharing the journey over on Instagram, so if you’d like to follow along, you can find me at @_amandaayres. I’d love to know what you’re working on too!
Be the first to comment