


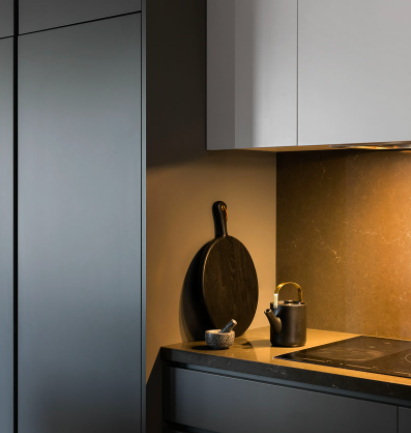
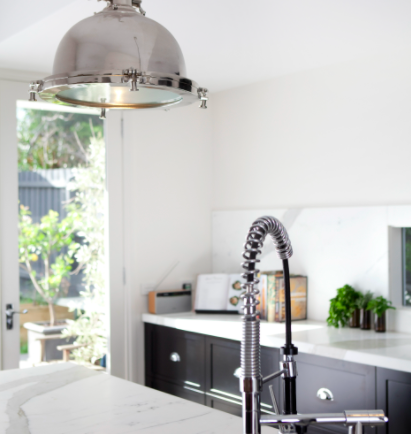
When designing a new kitchen, bathroom or built-in storage, we’re faced with the decision of what cabinetry finish or material to go with. While many of them may look quite similar when we’re researching options online, there are some major differences in how they’re made and how they perform.
So, what are the options for cabinetry finishes?
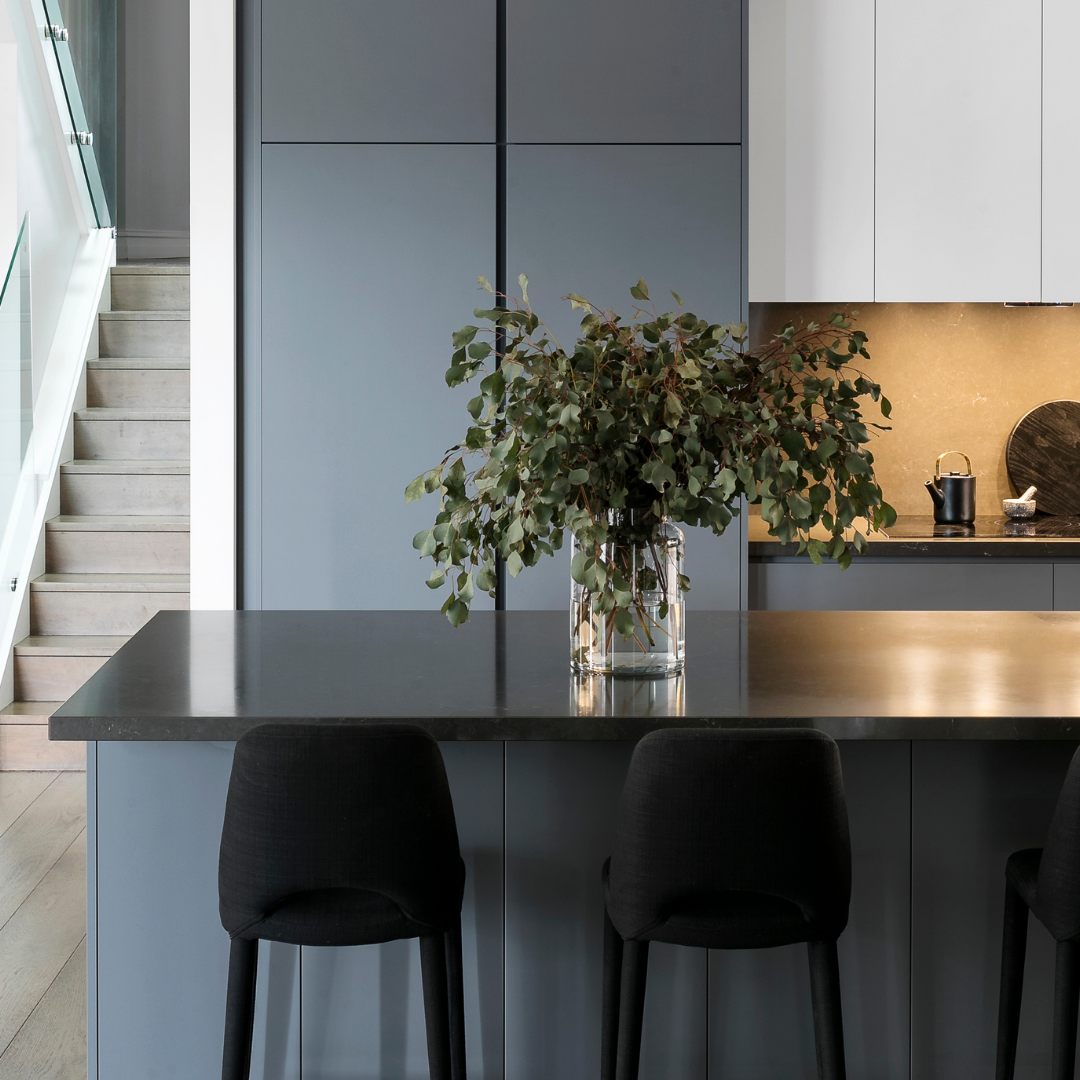
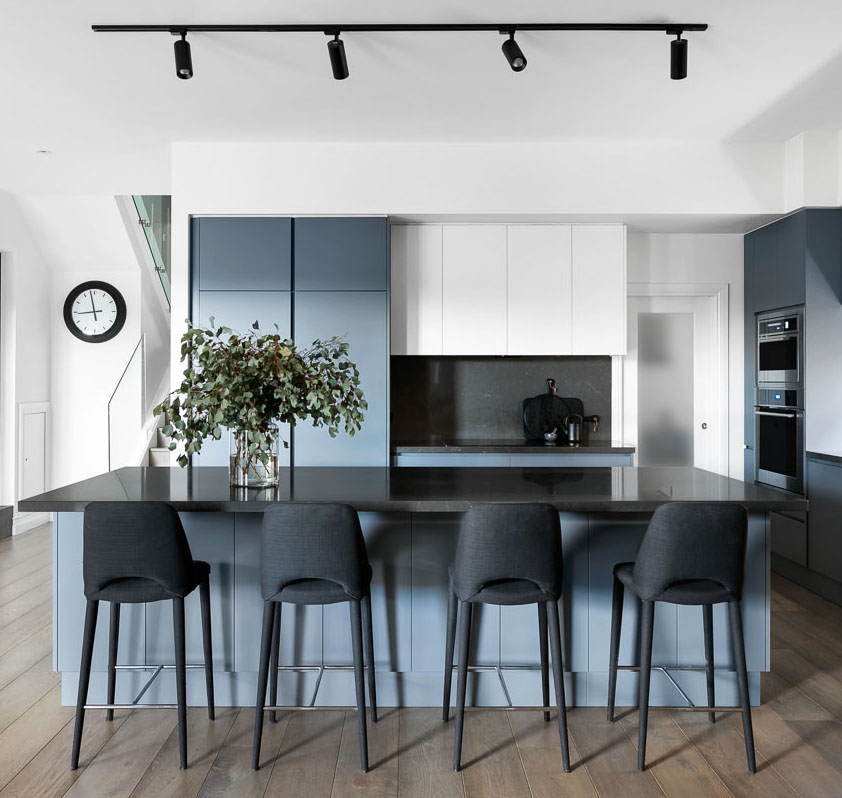
Option 1 : Vinyl Wrap
These doors are made from an MDF base with a sheet of vinyl, that is heat moulded to the surface of the door and wrapped around the edges to create a seamless finish.
They are also known as thermolaminated doors.
Advantages
There is a wide range of door profiles available and the seamless edge means that you don’t see any joins on the edge of the door.
Non porous, easy to clean and resistant to stains and mould.
Highly durable – with many suppliers offering a 7 year warranty.
E-Zero options available, which means that there are no harmful fumes released into your home.
Disadvantages
Can be heat affected around items such as cooktops and ovens so heat protection strips need to be used.
Cheaper products have been know to peel away and discolour so always stick with a quality manufacturer with a good warranty.
The colour and gloss levels are restricted to the range offered by manufacturers.
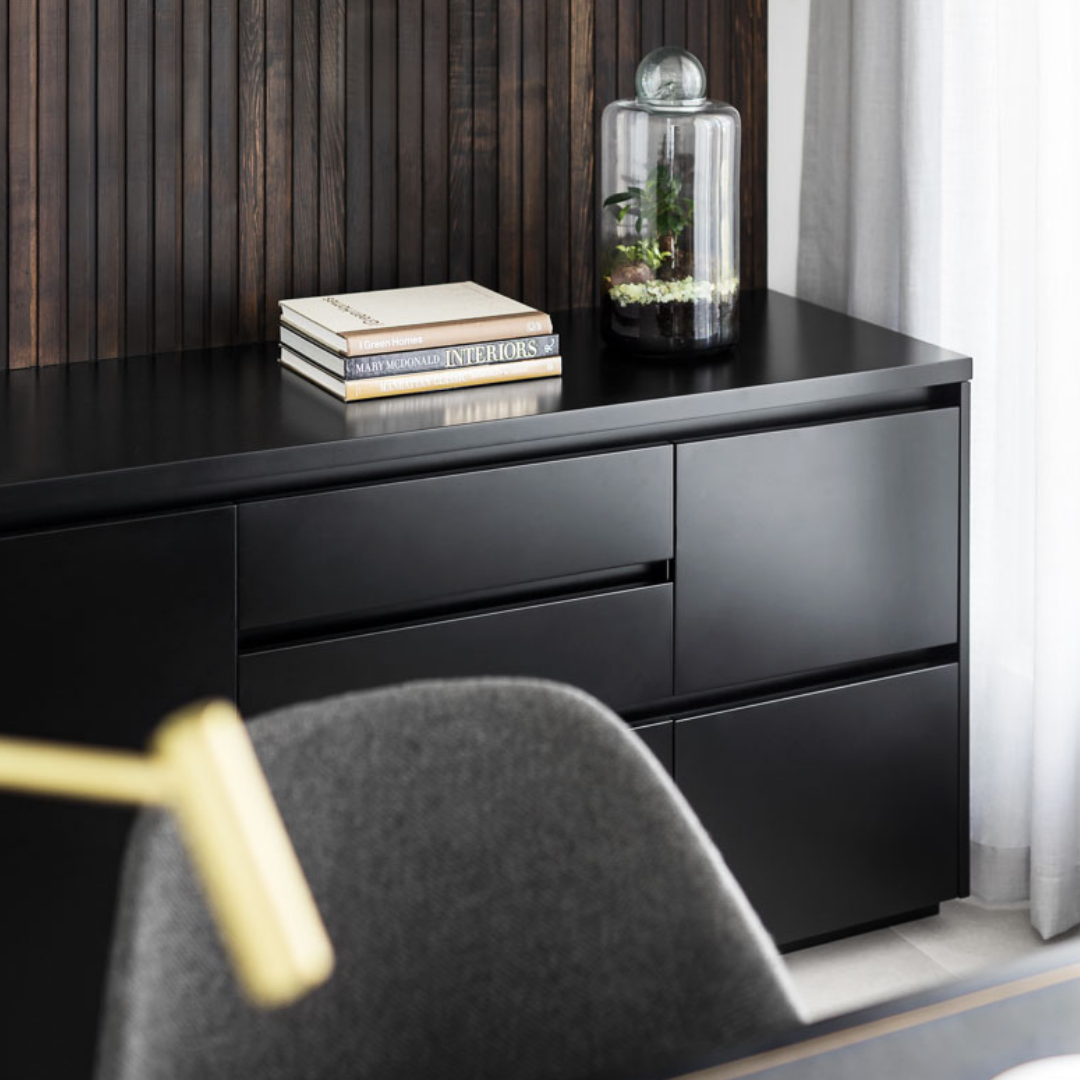
Option 2 : 2 Pack
2 pack just refers to a specific painting process – the first coat is the paint and the second is the hardener.
This option requires you to select a profile for your door and then a colour and gloss level for your paint job – the raw door (usually MDF) is sent to the painter, where it gets sprayed with an automotive-style paint and then delivered ready to install.
Advantages
You can specify any colour, gloss level or door profile that you like – this option provides the most freedom of your design.
Won’t peel or show any edging, as the paints gives a seamless coating around the sides of each panel.
Disadvantages
Chips and scratches easily, which is a problem especially for non-white cabinets, because the colour of the base board shows through and is more noticeable.
As this option is a raw door that is painted to order, it is not a manufactured finish that offers a product warranty.
It is usually one of the most expensive options because of the labour and customisation involved.
Option 3 : Laminate (Synthetic)
When looking at cabinetry, the term laminate is generally used to refer to a panel that has been constructed by adhering a thin layer of synthetic material onto a particleboard base.
This type of product may also be referred to as Melamine or Colourboard.
Advantages
Strong and durable – will not peel or bubble and is resistant to stains and mould.
Wide range of colours and finishes available, including wood grain styles.
Improvements in technology and manufacturing have enhanced the quality of edging details, so these products offer a more seamless transition between the front laminate sheet and the edging strips.
Disadvantages
Cheap, inferior products are on the market, so always stick with a known supplier with a product guarantee.
Whilst there have been significant improvements in the edging used for laminate panels, 2 pack and vinyl wrap still provide the most seamless edge detail.
There are restrictions on the type of door profile that is suitable for this finish – because of the layered construction, a highly detailed or routed door profile is more difficult to achieve.
Option 4 : Natural Timber
Natural timber can be used for cabinetry in either a solid form, or as a veneer, which involves adhering a thin piece of natural feature timber to a particleboard base.
Advantages
You see the natural beauty and unique characteristics of the natural timber.
Solid timber can be resurfaced and restained and is therefore seen to have a longer lifespan than other options.
The unique nature of timber can be used to create a one-of-a-kind focal point.
Disadvantages
There is going to be some variability between finishes, as the colour and pattern of each tree is different and this can mean more uncertainty around the finished look.
Natural timber is prone to movement, as the grains of timber expands and contracts with the weather and moisture in the air – this can lead to bowing or splitting.
Exposure to the sun can lead to discolouration.
It can be one of the most expensive options available, depending on the species of timber used.

Here’s a few tips when selecting your cabinetry finish…
+ When designing high-use spaces like a kitchen, I always look to the vinyl wrap and laminate options first, as they provide the most durable finishes. I only use 2 pack in a kitchen when the design requires a highly customised finish – either a unique colour or door profile that isn’t available in a standard range.
+ Always request a full sized sample of any custom cabinetry before you confirm your order. This should be a full sized door with your preferred profile, colour and finish. Don’t rely on a small colour chip for your selections!
+ Using the same cabinetry finish in different areas throughout your home can help achieve efficiencies (of both labour and materials) and therefore reduce costs.
+ Don’t fall into the trap of thinking the most expensive option is the best option – look at all the options available and consider what’s right for your project. Often the cheapest option is the most durable one.
+ Don’t be afraid to mix up your cabinetry finishes to achieve a more custom look. You might choose to use one finish for under-bench cabinets and something different for overhead. Or create a full wall of feature cabinets.
+ When in doubt, put your most fragile finishes overhead where they’re more protected from bumps.
+ If you’re ready to start sampling options, Polytec and Albedor are a great place to start for Laminate and Vinyl Wrap options and Briggs Veneers for natural timber veneer options.
+ Once your cabinetry finishes are sorted, you might find these other blog posts helpful in selecting your stone benchtops :
Are Stone Composites Really Safe?
There has been a lot of talk in the industry recently about composite stones – whether they are safe and if we should be using them in our homes.
Before you put Marble in your Kitchen
Before I give you the low-down on marble (and what you need to consider before you put it in your kitchen), I wanted to give you a little background and my personal experience living with it…


[…] A Guide To Cabinetry Finishes […]